How I Built My Personal Website
Posted on: Oct 1, 2023
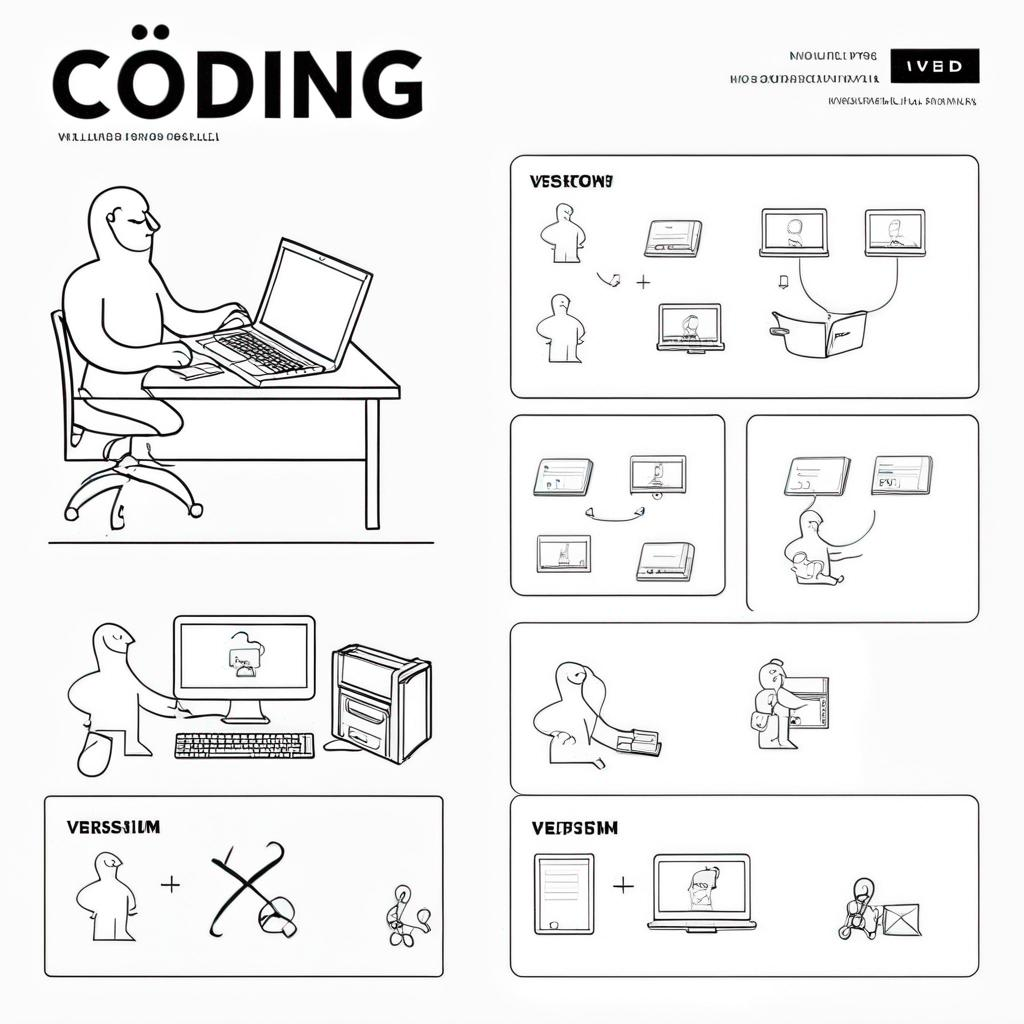
Table of Contents
- Introduction
- Choosing a Tech Stack
- Design Process
- Development Process
- Deployment
- Conclusions & Key Takeaways
- Technology Stack
- Learning Resources
Introduction
As someone who recently ventured in the realm of self-employment, establishing an online presence became a necessity. I needed a place to showcase my professional journey, thoughts, and projects. Before I left my previous role, I discovered some of the amazing data visualizations that were created from a digital publication called ’The Pudding’. Inspired by their design and clarity of presenting information, I wanted to see how I could learn this skill and adapt it to my career. Looking at the frequently asked questions page, I saw that they mentioned they heavily rely on the D3.js JavaScript library and Svelte, a front-end component-based framework. Since I needed a platform to present all of my work, learning how to use Svelte seemed like a great starting point.
Svelte is a tool for building web applications, and it requires knowledge of HTML, CSS, and JavaScript. I did not have a lot prior experience in these languages (although I did spend some time working with HTML at my previous job!), so I decided it would be best to find an online resource to learn from. After doing some digging, I came across a great community called freeCodeCamp where you can (as the name implies) learn to code for free. I noticed they offered both a responsive web design and javascript certifications, which were a perfect starting point to learning how to develop modern web applications using Svelte.
After I got through the certifications and had a basic handle on HTML, CSS, and JavaScript, it was time to switch over to Svelte and learn how to build high-performance web applications with a small footprint. Svelte conveniently has a tutorial that they offer which covers both Svelte and SvelteKit (an application framework). I found the tutorial to be very helpful, but a little challenging at first. I went through everything presented in the tutorial, and would revisit it multiple times as I learned to incorporate more features.
After covering the basics of HTML, CSS, and JavaScript as well as the front-end component-based framework, I was ready to start developing my own personal website.
Choosing a Tech Stack
The world of web development is large, and there are plenty of tools that build upon the building blocks of HTML, CSS, and JavaScript. Notably, I found TailwindCSS which is a utility-first CSS framework that allows you to style your websites directly in your markup. I noticed that a lot of professional web developers prefer to use TailwindCSS in their projects, as it’s easier to review and pick up after a break. Also, it makes responsive design (e.g. mobile and desktop) a breeze. For example, TailwindCSS takes regular CSS like this:
<style>
.button {
  background-color: #3b82f6;
  padding: 0.5rem 1rem;
  border-radius: 0.25rem;
  color: white;
  text-align: center;
}
</style>
And converts it to this:
<button class="rounded bg-blue-500 p-2 text-center text-white"> Click Me </button>
Having all of the styles in one place makes it easier to see what a component or element will look like just by glancing at the HTML. This is particularly useful when working on larger projects or when you need to revisit a project after some time. With regular CSS, you often have to switch back and forth between HTML and CSS files to get a full understanding of how an element is styled. TailwindCSS reduces this context switching, making for a smoother, more efficient workflow.
I also discovered something called TypeScript. TypeScript is a programming language developed by Microsoft that is essentially JavaScript but with additional features. One of the key features of TypeScript is the support for static typing. This means you can specify the types of your variables, function parameters, and return values. This helps catch type-related errors at compile-time, rather than at runtime which is the case with plain JavaScript. For example, in plain JavaScript, you might write a simple function that adds two values together like this:
function add(a, b) {
    return a + b;
}

const sum = add(5, 3);  // returns 8
While this function will work, if you try to pass a non-number argument to the add function, you won’t get any error until the code is executed, and even then, it might just result in unexpected behavior rather than an outright error.
However, using TypeScript, we can specify the types of the parameters ‘a’ and ‘b’ as ‘number’ as well as the return type of the function as a ‘number’, like so:
function add(a: number, b: number): number {
    return a + b;
}

const sum: number = add(5, 3);  // returns 8
This version of code allows for early error detection as well as the added benefit of making the code easier to read and understand. It was a perfect choice for my personal website, and became the scripting language of choice.
Now that I had the tools decided upon, time to start developing!
…almost.
Design Process
This website is actually my fourth iteration, with each change building on skills learned in the previous versions. At first, I was so excited that I rushed into development and started building out headers, footers, about pages etc. While this was a good learning experience and improved my skills, the final product did not look particularly great.
I decided to scrap what I had built, and leverage the use of a UI toolkit. A UI toolkit is a collection of pre-built components and utilities that developers can use to build and style the interface of web applications more efficiently. I decided on using Skeleton for my second iteration, a UI toolkit for Svelte and TailwindCSS to help build out my website.
This was a great experience, and I learned a lot. I was able to use their buttons, form elements, modals, navigation bars etc. and implement them into my website fast. For example, if you wanted to implement a button, instead of writing all of the HTML, CSS, and JavaScript, you can just write:
<button type="button" class="btn variant-filled">Button</button>
Super simple!
But, using this specific UI toolkit did have some drawbacks, specifically regarding limited customization. I was unable to customize to the extent which I liked, and it did not suit my needs for the unique brand of my website. Doing some more research, I found another UI toolkit, TailwindUI, by the creators of TailwindCSS which gives you complete control over the component code. This suited my use case better, and was the design choice going forward.
Before starting on my next iteration, I decided to draw out a rough draft of how my website was going to look. I’ve seen that a lot of developers prefer to use Figma which is a collaborative web application design tool. They offer a free account, and I played around with the tools, but decided that it would be easiest and fastest to draw on my iPad. Here is the rough draft I came up with:
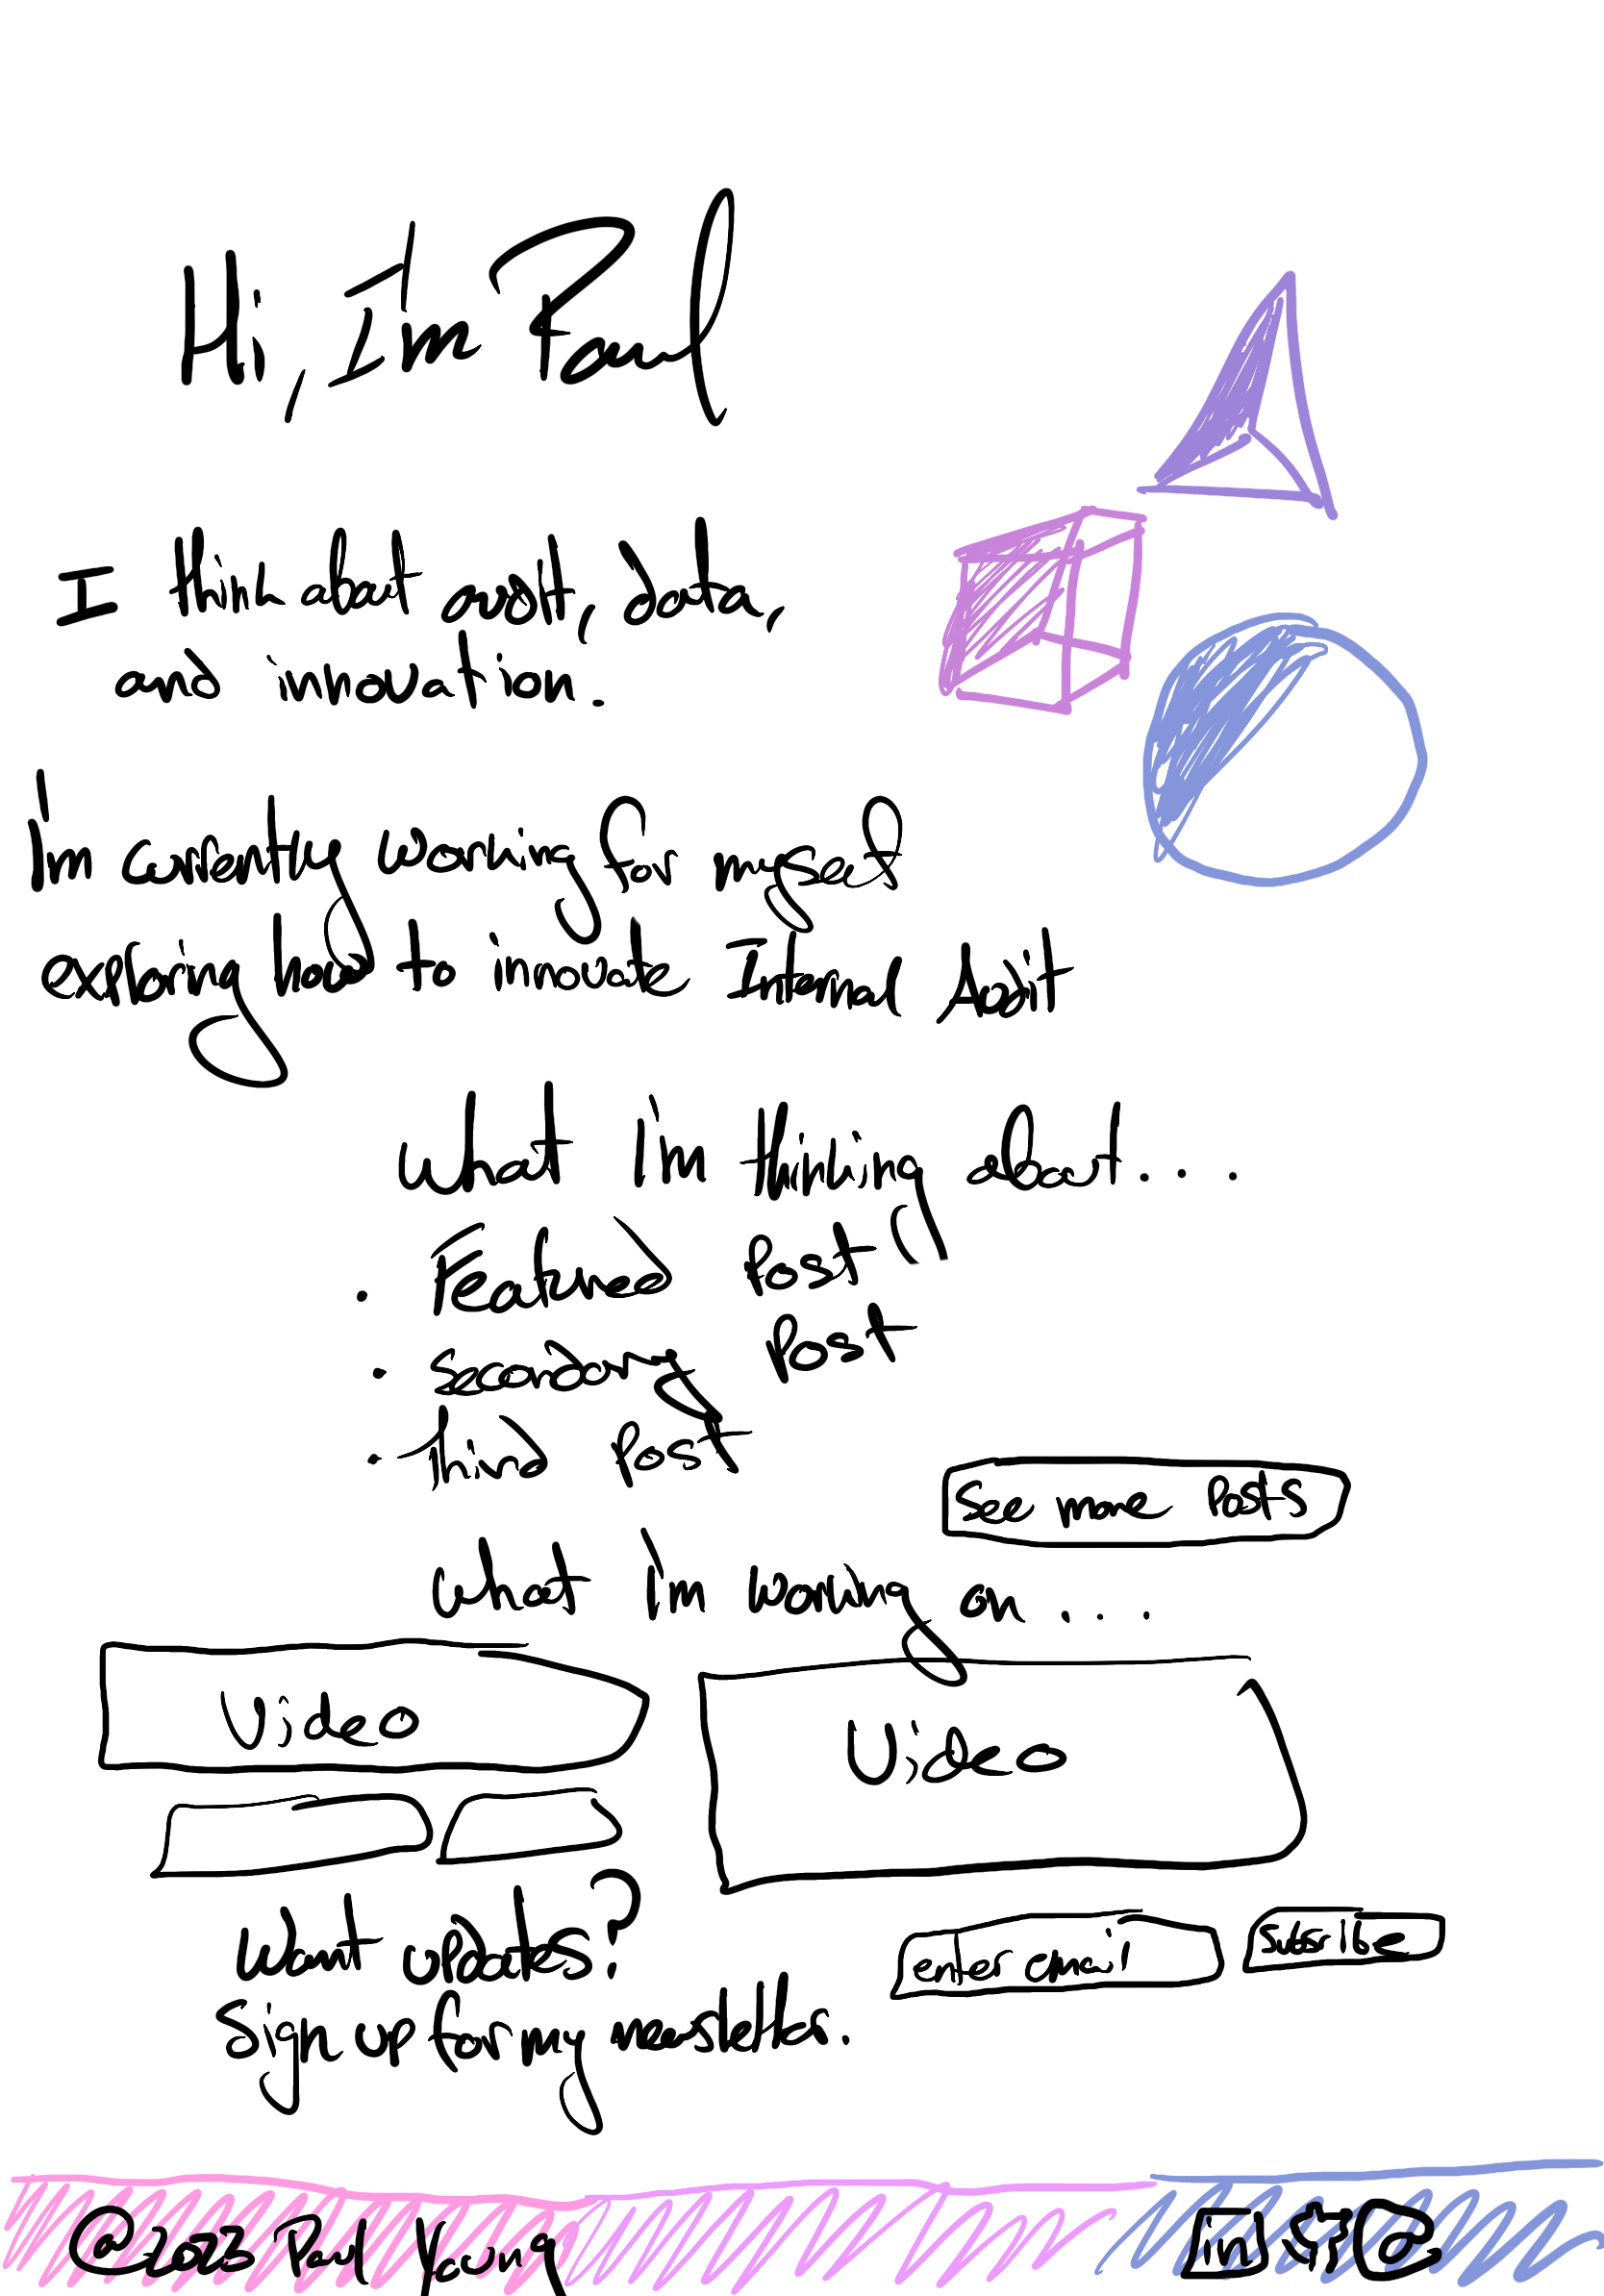
With a rough roadmap of how I wanted my website to look, and the skills to build it, I was now able to start development.
Development Process
To start, I created a new Svelte project using the terminal commands provided on their website:
npm create svelte@latest personal-website
cd personal-website
npm install
npm run dev -- --open
The best part about using Svelte, is the ability to create components which are the building blocks of your application. They help in organizing the UI in reusable and manageable pieces. On my homepage, I use multiple components to separate out my hero, blog, projects, and newsletter sections. For example, in my home page, it looks something like this:
<script>
import Hero from '$lib/components/Hero.svelte';
import Blog from '$lib/components/Blog.svelte';
import Projects from '$lib/components/Projects.svelte';
import Newsletter from '$lib/components/Newsletter.svelte';
</script>

<Hero />

<Blog />

<Projects />

<Newsletter />
As you can see, this is a much cleaner and easier format to view. Plus, if you ever need to modify a section, you can just pop into the respective component and make your updates there.
The continuing development was a long process of trial and error, writing code in a separate branch within the development environment, checking and testing to see if the changes were to my liking, and then merging with my main branch and publishing to Github.
Deployment
I’ve used Vercel to host and deploy my website. I like Vercel as they offer a generous hobbyist tier which allows you to host your own website for free. Also, they have the creator of Svelte, Rich Harris, working full-time for them on new features and updates for Svelte. The compatibility is great for my tech-stack and the choice has worked great so far.
Conclusions & Key Takeaways
Embarking on this journey to build my personal website has been both challenging and immensely rewarding. The learning curve was steep, especially when diving into new technologies and methodologies, but the outcome has been incredibly gratifying. While I’m pleased with how my website has turned out, I’m even more excited to pivot my attention toward new projects.
As I continue to sharpen my skills and deepen my understanding of web development, I fully intend to revisit and overhaul my personal website. I see this initial build as Version 1.0—with many updates and iterations to come. The beauty of web development is that your learning journey never truly ends; there are always new techniques to master, design trends to adapt, and technologies to explore.
For those looking to get their feet wet in the realm of web development, I have some guidance based on my own experience. Start with the fundamentals; make sure you’re comfortable with HTML, CSS, and JavaScript. These are the bedrock technologies that every web developer should know.
Once you’re proficient in the basics, move on to a framework like Svelte, React, Vue, or Angular. I chose Svelte and SvelteKit for my own project, and I couldn’t be happier with the choice. Frameworks are incredibly powerful tools that will enable you to build functional, dynamic, and visually stunning web applications with ease. I’d also recommend becoming acquainted with a utility-first CSS framework like TailwindCSS, which can expedite the development process and make your life much easier in the long run.
All in all, web development is an exciting and ever-changing field that offers an abundance of opportunities for learning and growth. So if you’re interested, jump right in and and see where this journey takes you!
Technology Stack
The tools and technologies I used to build out this project:
Learning Resources
The learning resources that were particularly helpful in learning how to build out this project: